Do you have a smoke detector that beeps at you all the time, even with new batteries? It may be time to replace it. Most manufacturers recommend replacing smoke detectors if they’re 10 years or older because the sensors become unreliable. In this article, we’ll walk you through a step-by-step process to help you replace your smoke detector.
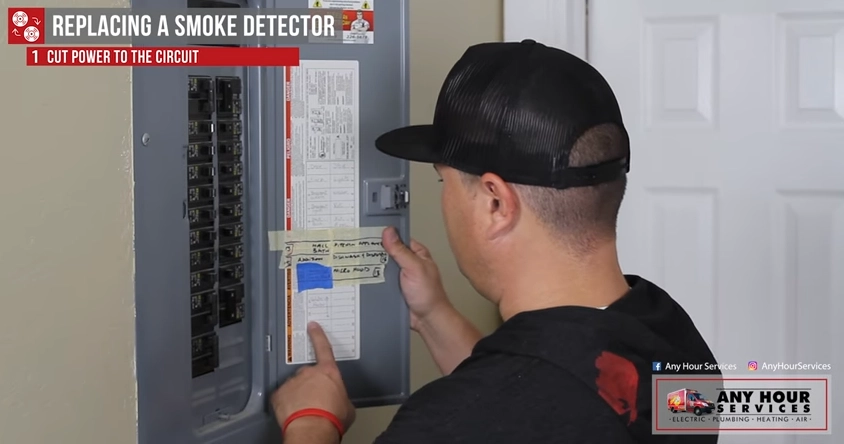
First, fully disconnect the power to the outlet or the switch you are working on at the breaker panel. Once you’ve flipped the breaker, return to the outlet or switch and use an electrical tester to make sure all of the wires are dead. If there’s still power to that wiring, your tester should light up or make a noise. Start this process over until your tester no longer lights up indicating there is still power.
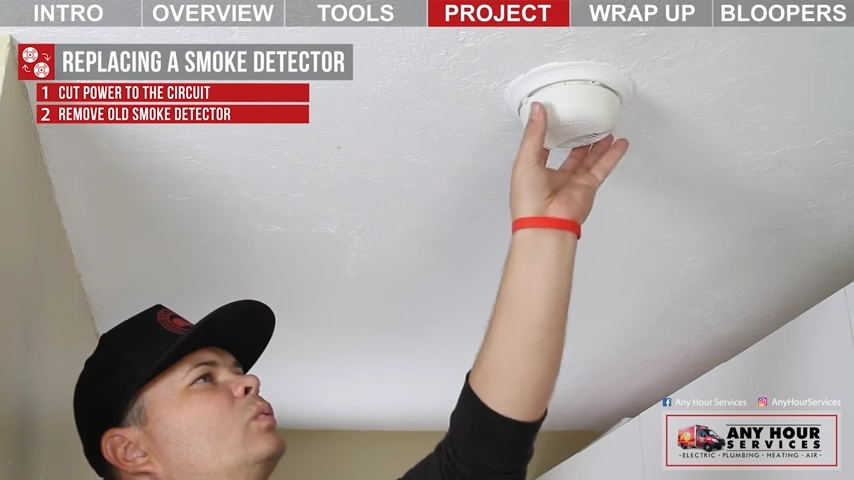
The most common smoke detectors use a twist-and-lock method to hold the smoke detector on the mounting bracket. So, grab the detector firmly and twist it counterclockwise. You should feel it release from the bracket and it will be hanging by the wiring harness.
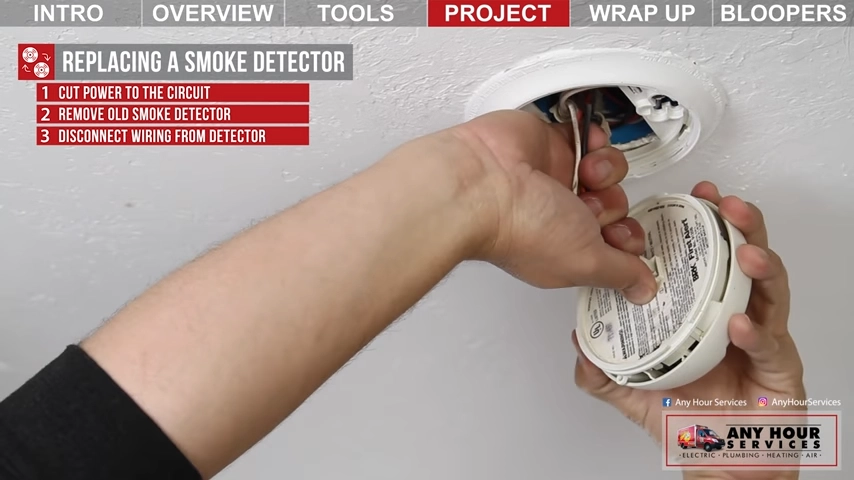
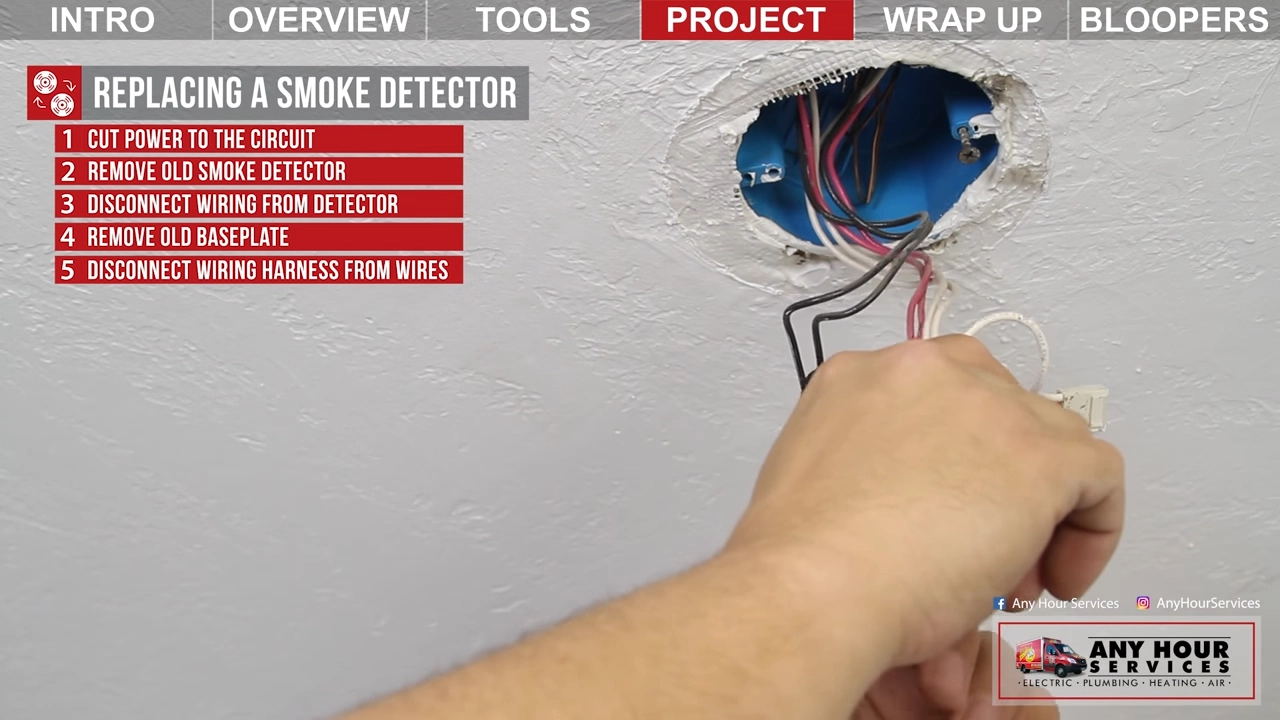
Depending on the style of your smoke detector, the wiring harness may slip on and off, while others may have a tab you need to press to get it to release.
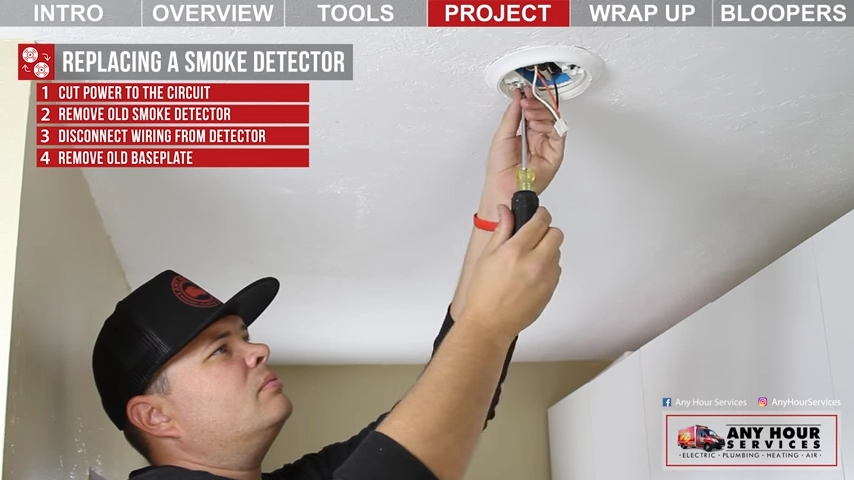
Next, you’ll remove the old baseplate. Sometimes these can be painted over when a homeowner paints walls or ceilings. If that’s the case, use a razor knife and score around the paint, this will help prevent any peeling.
The base plate is usually held on by 2 screws. Sometimes you can just loosen the screws and just twist the plate off, other times you will need to remove the screws all the way to get it off.
The new smoke detector wiring harness should have the same colors as the old smoke detector. You should have a black wire (which is the hot wire), a white (which is your neutral), and a red one (this is a communication wire for interconnected smoke detectors). It’s important to connect all of them correctly so they go off together and protect you no matter where you are and where the fire is.
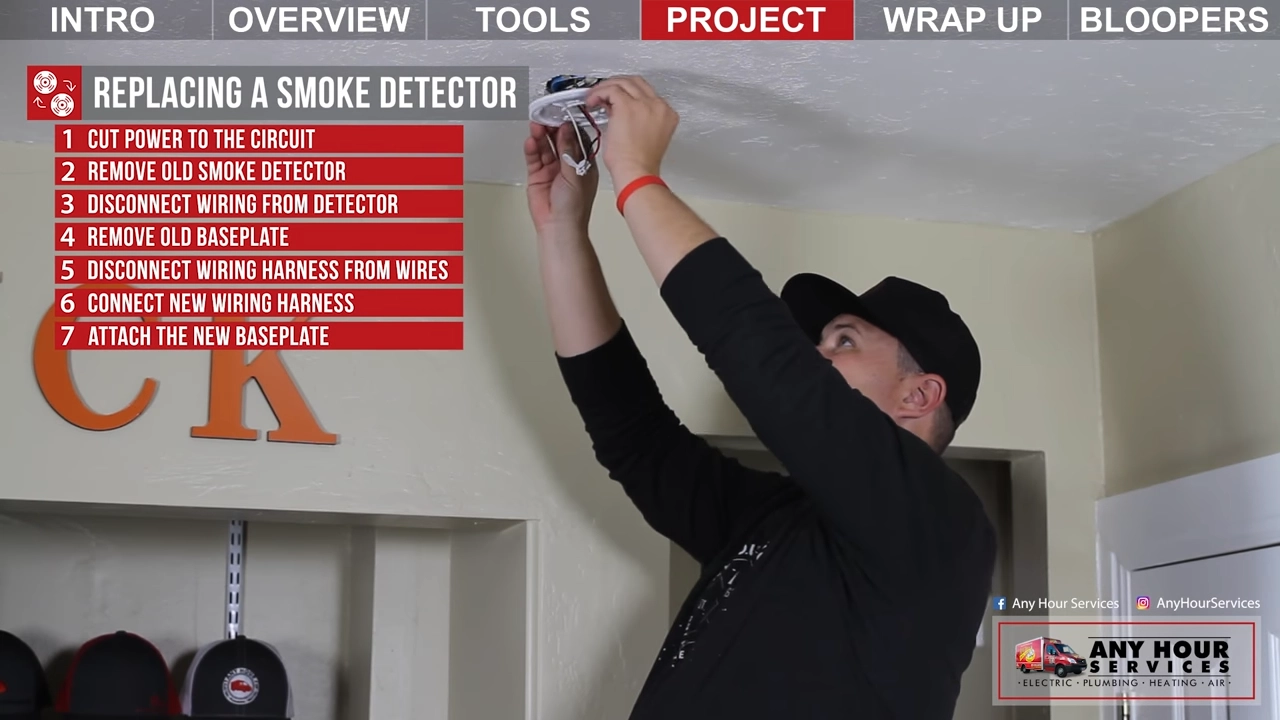
The next step is to install the new base plate. Your new base plate may have different hole configurations. But you might be able to slip it over the screws, turn it until it locks in place, and then tighten the screws down.

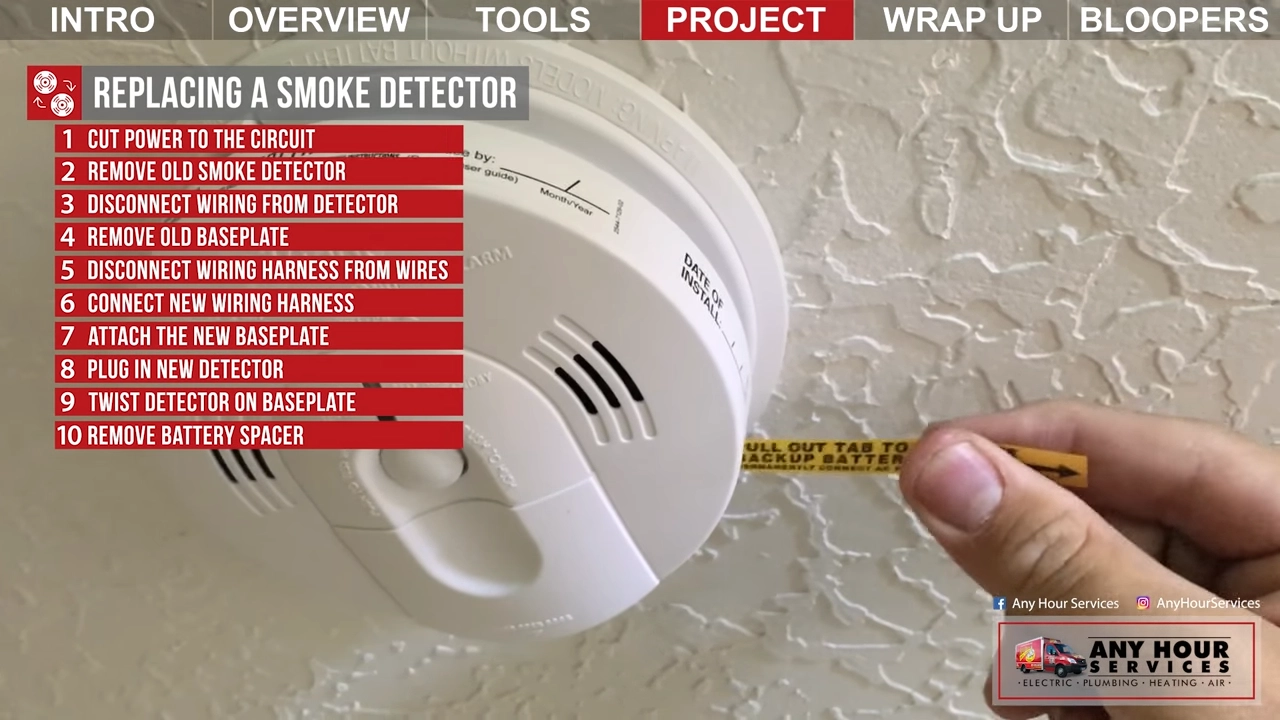
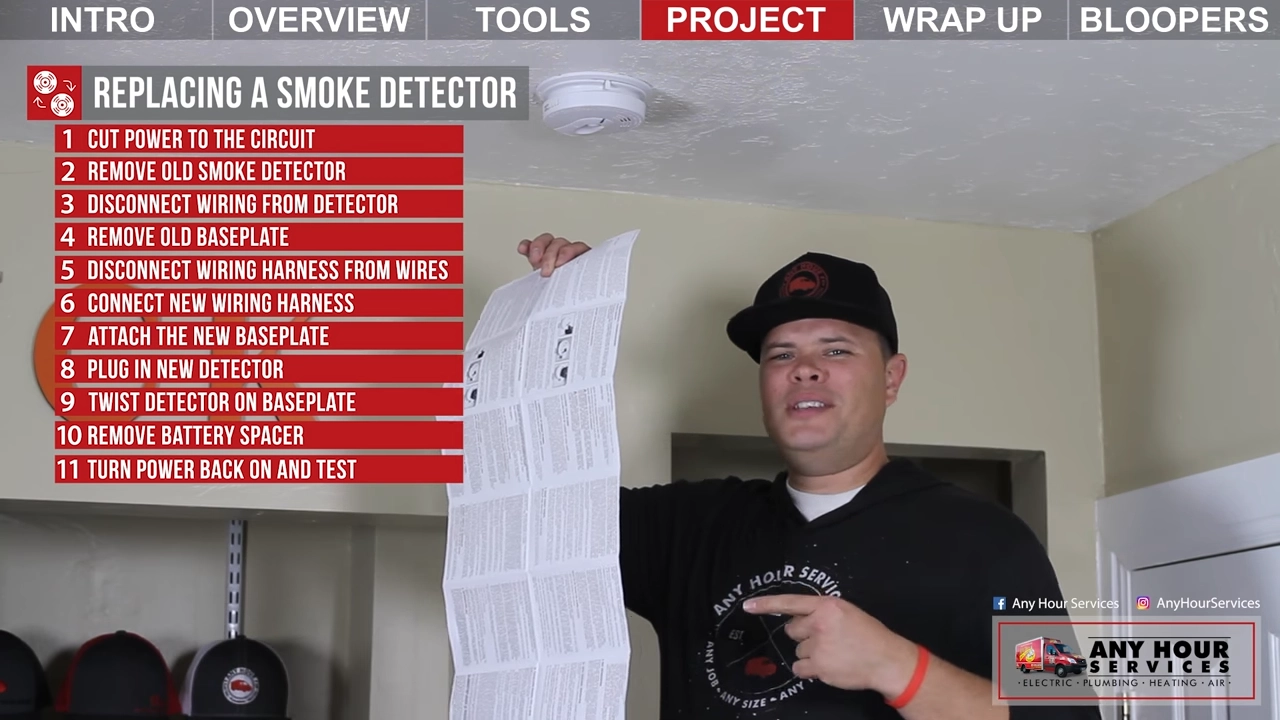
So, that's how you replace a smoke detector. As you can see, with a little bit of information and instruction this is something you can do yourself. But, if you ever feel like you have gotten in over your head, call an electrician you trust for some help.