Have you ever started an electrical project in your home and realized the wires are too short? Maybe you’re replacing a switch or outlet and you’re running out of wiring. In this article, we’ll show you how to make an electrical pigtail so you can finish your project!
Tools you’ll need: Screwdriver, wire cutters, wire strippers, wire tester, pliers, utility knife, flashlight or another portable light source, and about 6 inches of new wire
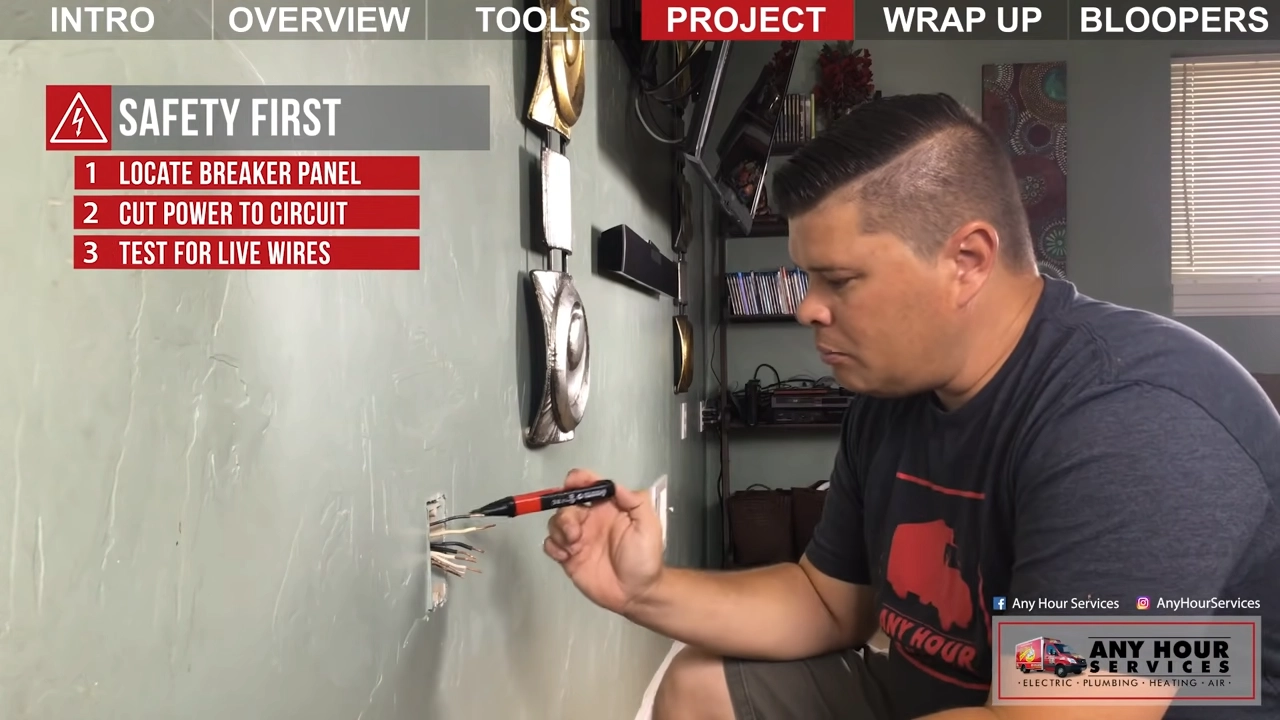
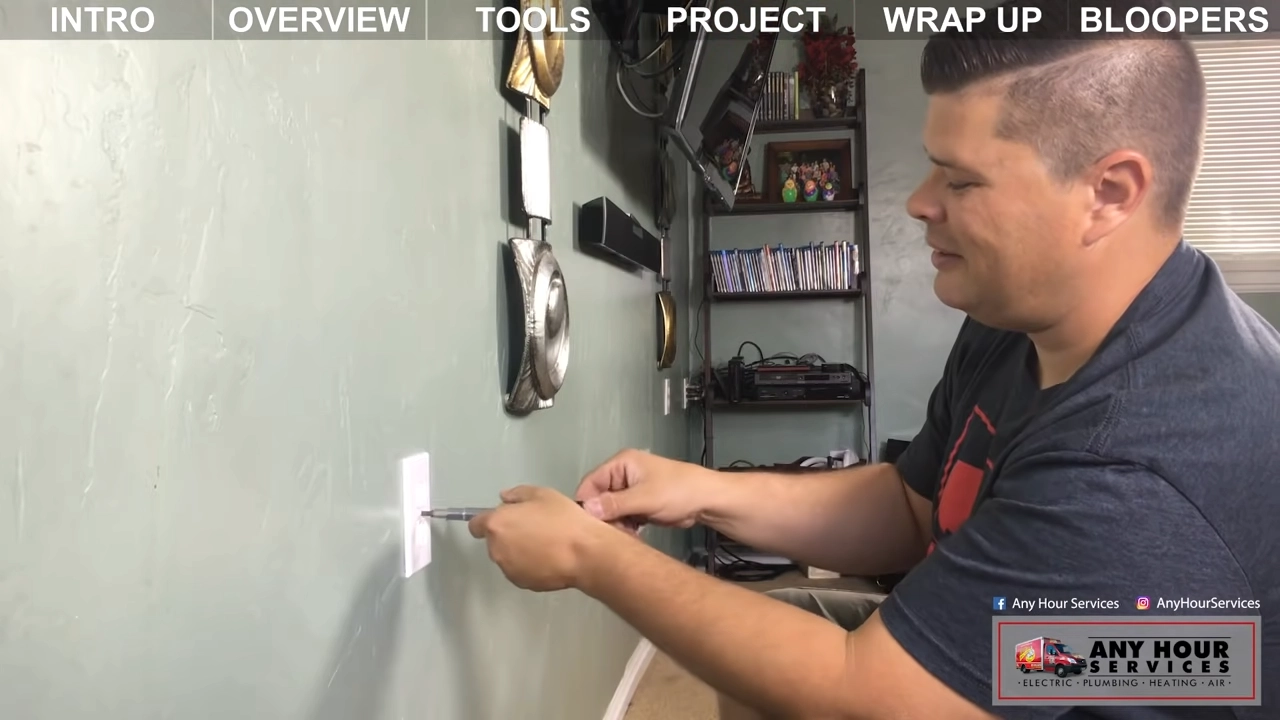
First, fully disconnect the power to the outlet or the switch you are working on at the breaker panel. Once you’ve flipped the breaker, return to the outlet or switch and use an electrical tester to make sure all of the wires are dead. If there’s still power to that wiring, your tester should light up or make a noise. Start this process over until your tester no longer lights up indicating there is still power.
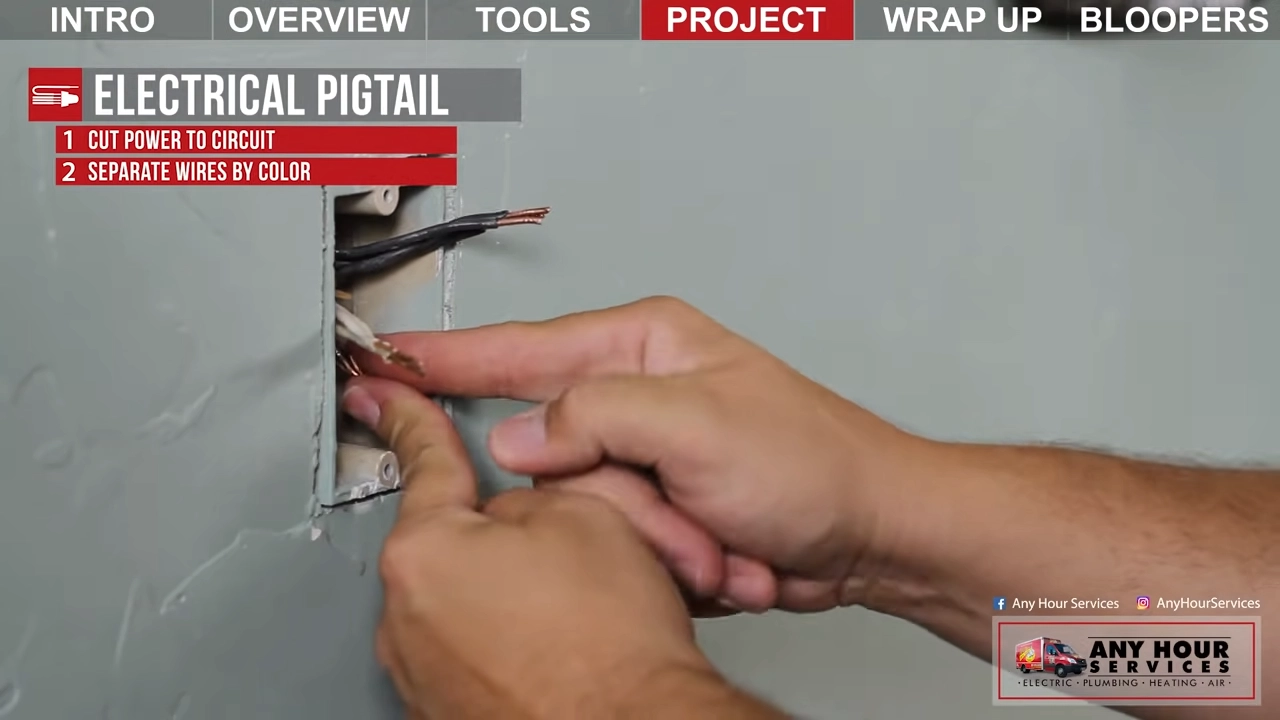
The next thing to do is separate your wires by color. Get all the black wires together, all the white wires together, and all of the copper ground wires together.
Have you ever stepped into the shower and noticed water spraying all over the place? Take a look at your shower head and check for hard water deposits. Hard water can build up on each jet and cause your shower to spray erratically. Sometimes simply taking an old toothbrush to the jets and knocking the deposits off works great!
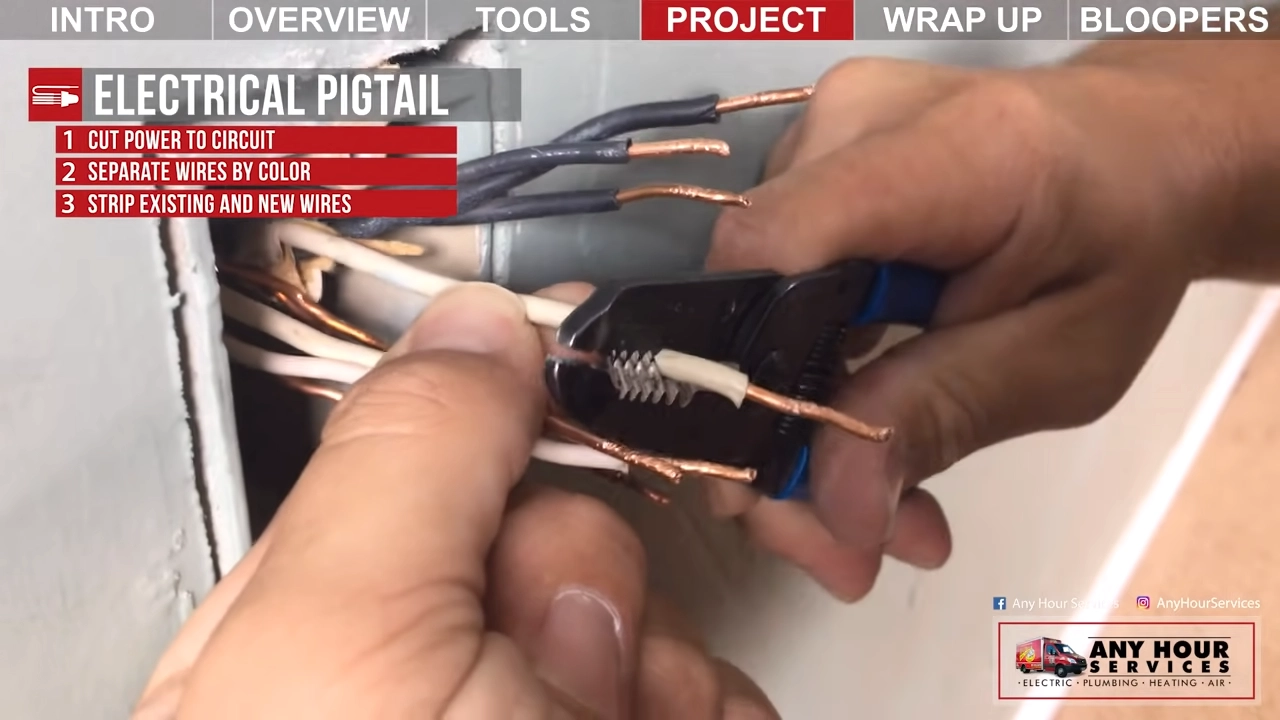
Depending on your situation, the wires might be different lengths. So, you can strip each one to have the same amount of exposed copper and then clip them to be the same length as well. That way, when the wires are twisted together, they will be the same length.
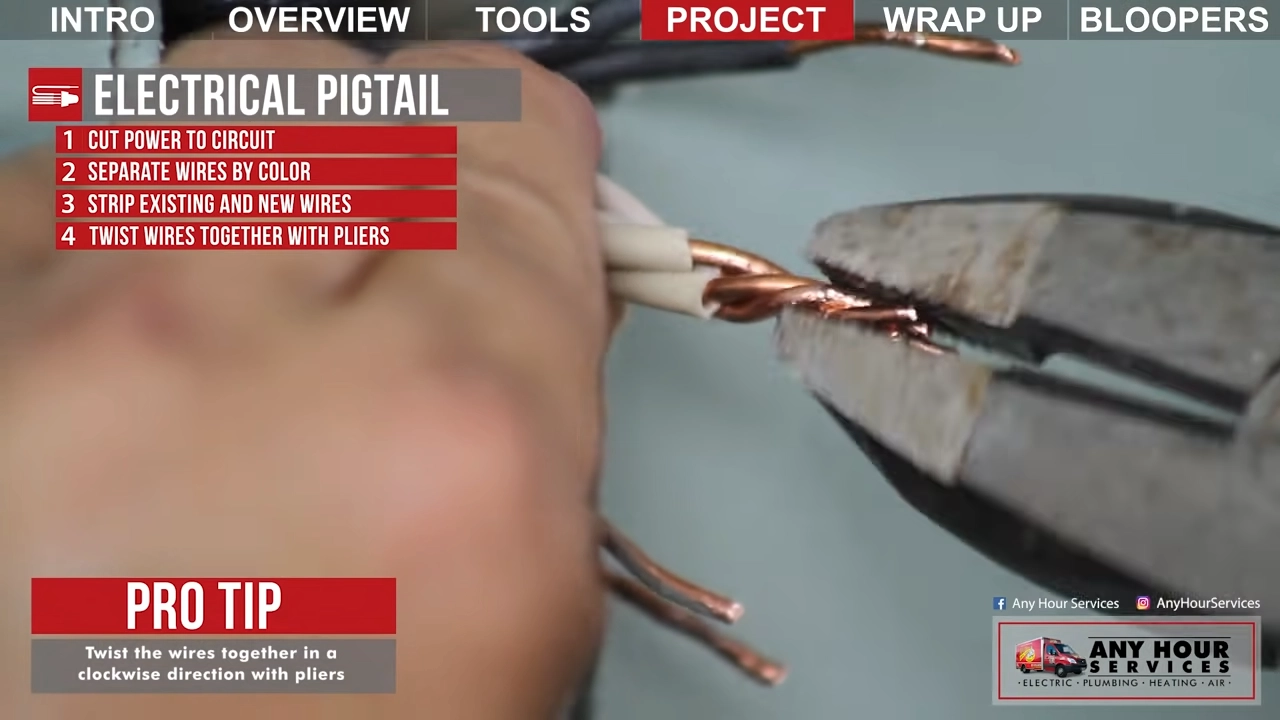
Twist the black wires with the new piece of wire, clockwise, with your pliers. The reason you go clockwise is that the wire nut will also screw on clockwise and you want the wires to tighten in on each other.
Once you have that done, trim the copper if they aren’t all the same length anymore. Make sure everything is straight and that the wire nut will cover the exposed copper. Then take the wire nut and screw it on. Repeat this for the white wires and copper wires. Now that you have each group wire nutted together, you should have one wire that’s much longer than the others.
Now you're ready to install a new outlet or switch. Push the grouped wires back into the electrical box and keep the new long wire out to work with. Strip back the ends and make fresh connections for your new outlet or switch.
Now you're ready to install a new outlet or switch. Push the grouped wires back into the electrical box and keep the new long wire out to work with. Strip back the ends and make fresh connections for your new outlet or switch.
We hope you’ve found this information helpful! If you have questions or feel uncomfortable trying this yourself, a qualified electrician would be happy to help. If you don’t have an electrician you can call, or reach out to Any Hour Services. Our electricians are happy to help no matter the size of your project.